In NVIDIA® Nsight™ Visual Studio Edition, the host is the term for the computer that is running Visual Studio, where your application is being built and debugged. After you install NVIDIA Nsight on your computer, you will see a new menu called Nsight on your Visual Studio taskbar.
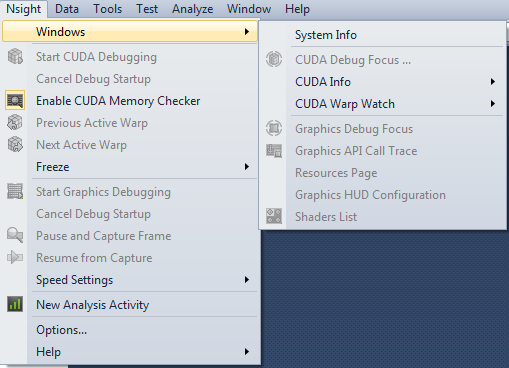
Feel free to explore the various options on this menu. The items that are critical for debugging will be discussed in further detail in later topics.
Nsight Host Settings
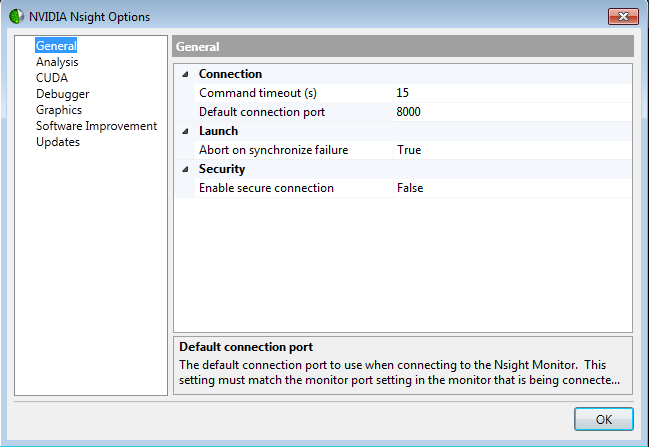
After installing NVIDIA Nsight on the host machine, open Visual Studio and go to Nsight > Options to configure your settings.
- On the General page, configure some of the basic options such as timeouts, whether to enable secure connections, and which port NVIDIA Nsight should use to connect to the target machine.
Note that the default port setting is 8000. The port number on both the host and target machines must match in order for a successful connection to occur. (See Target Basics for more information.)
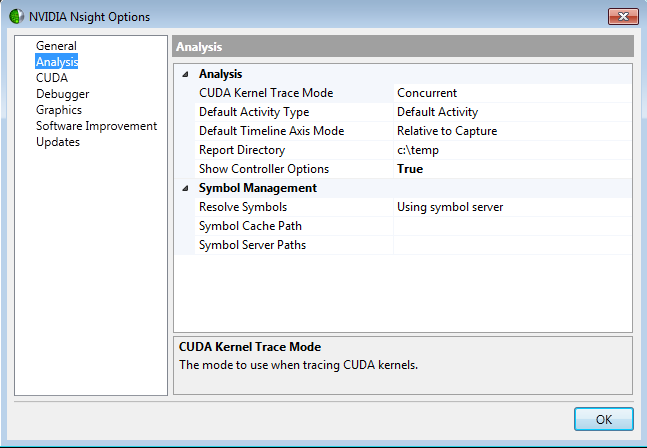
- On the Analysis page, you can configure several analysis options such as CUDA kernel trace mode, default activity type and timeline axis mode, as well as a default report directory.
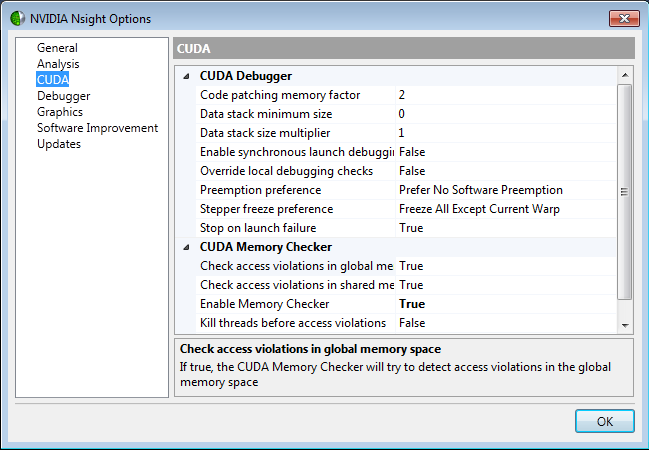
- On the CUDA page, you can configure several options for both the CUDA Debugger as well as the CUDA Memory Checker.
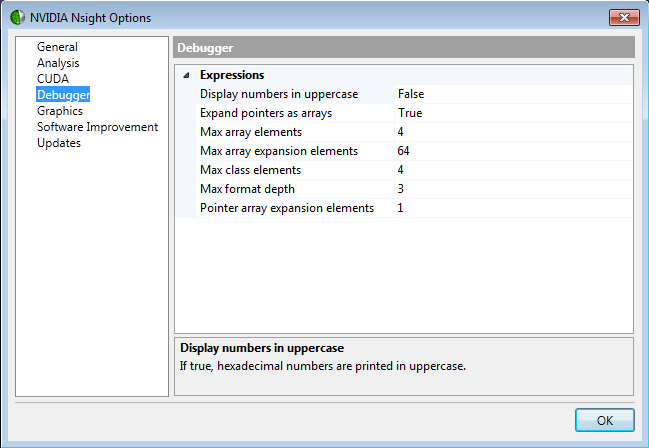
- On the Debugger page, configure some basic display options for NVIDIA Nsight.
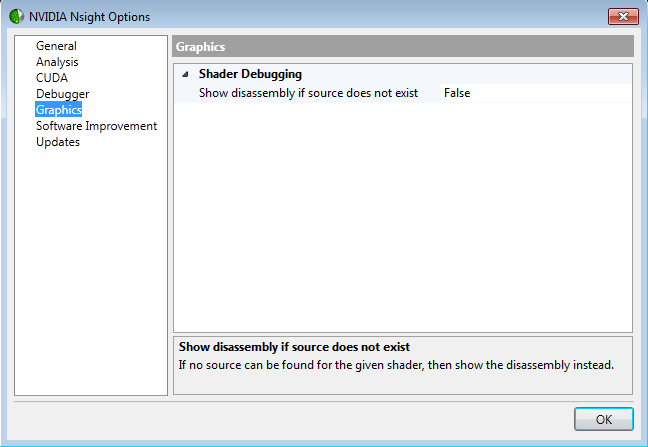
- On the Graphics page, you can select whether or not to show disassembly if the source does not exist.
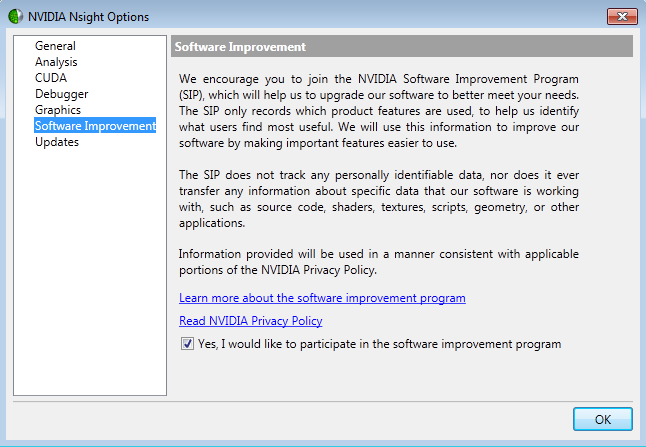
- On the Software Improvement page, you can select whether or not to join the NVIDIA Software Improvement Program (SIP).
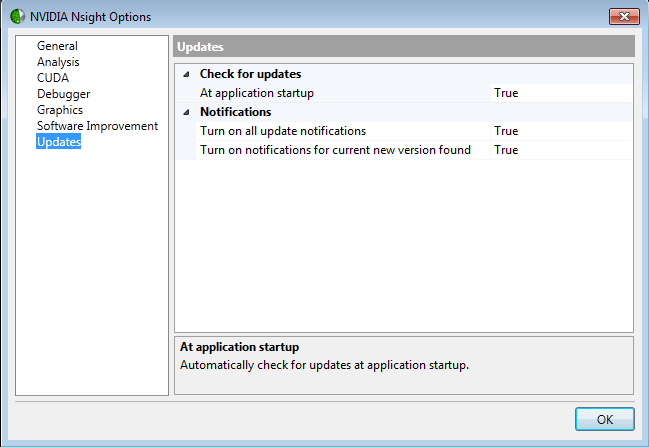
- On the Updates page, select whether or not you want NVIDIA Nsight to automatically search for updates upon startup.
Click OK when you are finished configuring your options for NVIDIA Nsight.
Configuring NVIDIA Nsight on the Host Machine
After NVIDIA Nsight has been installed on the host machine, it will need to be configured. To do this:
- Open your project in Visual Studio.
- On the Solution Explorer menu, click the Nsight User Properties icon. (As an alternative, you can also go to the Project menu > Nsight User Properties.)
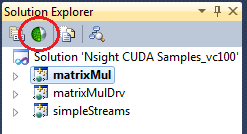
- This will open the NVIDIA Nsight User Settings dialog box.
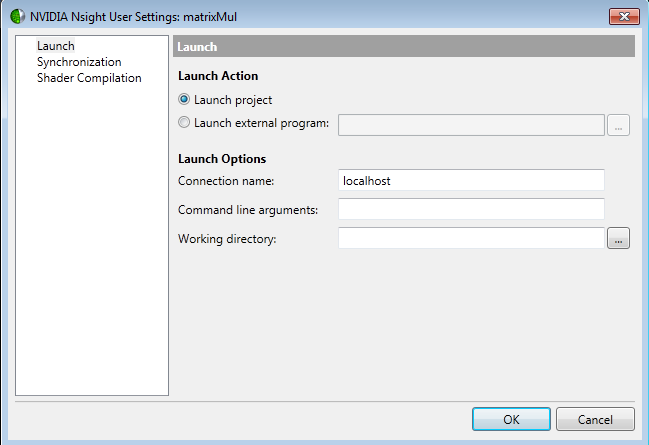
- Under connection name, specify the name of the computer that will be your target machine.
The default setting is localhost; however, unless you are using a local debugging configuration, you'll need to enter the remote computer's name.
You can also use the Nsight Connections toolbar to specify the name of the computer that should be used for running the target application.

- For Launch external program, enter the file path to the application that is being debugged.
- Click the Synchronization page.
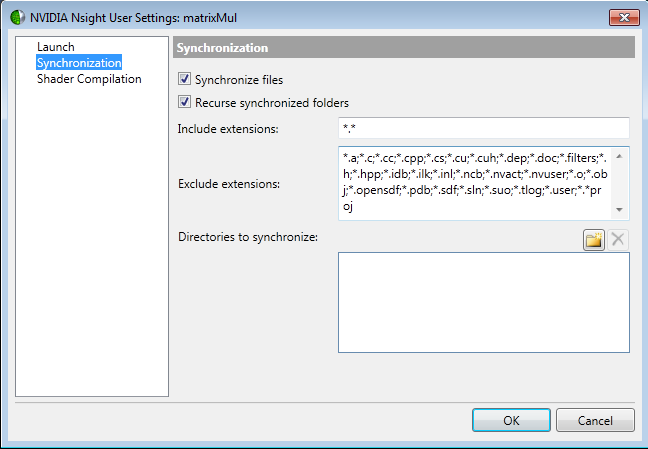
From here, you can choose which file extensions to include or exclude for synchronization purposes.
If you're debugging a large application, you'll want to turn off synchronization to prevent performance problems.
 | When using file synchronization, all file paths are relative to localhost.
When file synchronization is turned off, the file path is relative to the target machine (which could be localhost as well, depending on your settings.) |
- Click the Shader Compilation page.

This page allows you to specify include paths for compiling the shaders in your application.
| NVIDIA® Nsight™ Development Platform, Visual Studio Edition User Guide Rev. 2.2.120522 ©2009-2012. NVIDIA Corporation. All Rights Reserved.
|
|
| |
|