NVIDIA Nsight Visual Studio Edition 2.2 User Guide > Graphics Debugger > Shader Debugger > Dynamic Shader Editing


To edit a shader dynamically within NVIDIA Nsight:

  1. Access the Shader Debugger.
  2. To see the source code of a specific shader, double-click on a row in the Shaders window. The document window opens, showing the corresponding source code.
  3. In the Text Editor window, right click on the Shader and select Edit.


  4. The left window shows the "Before" shader. This shader code is read-only; breakpoints can be set, but no other editing can take place.
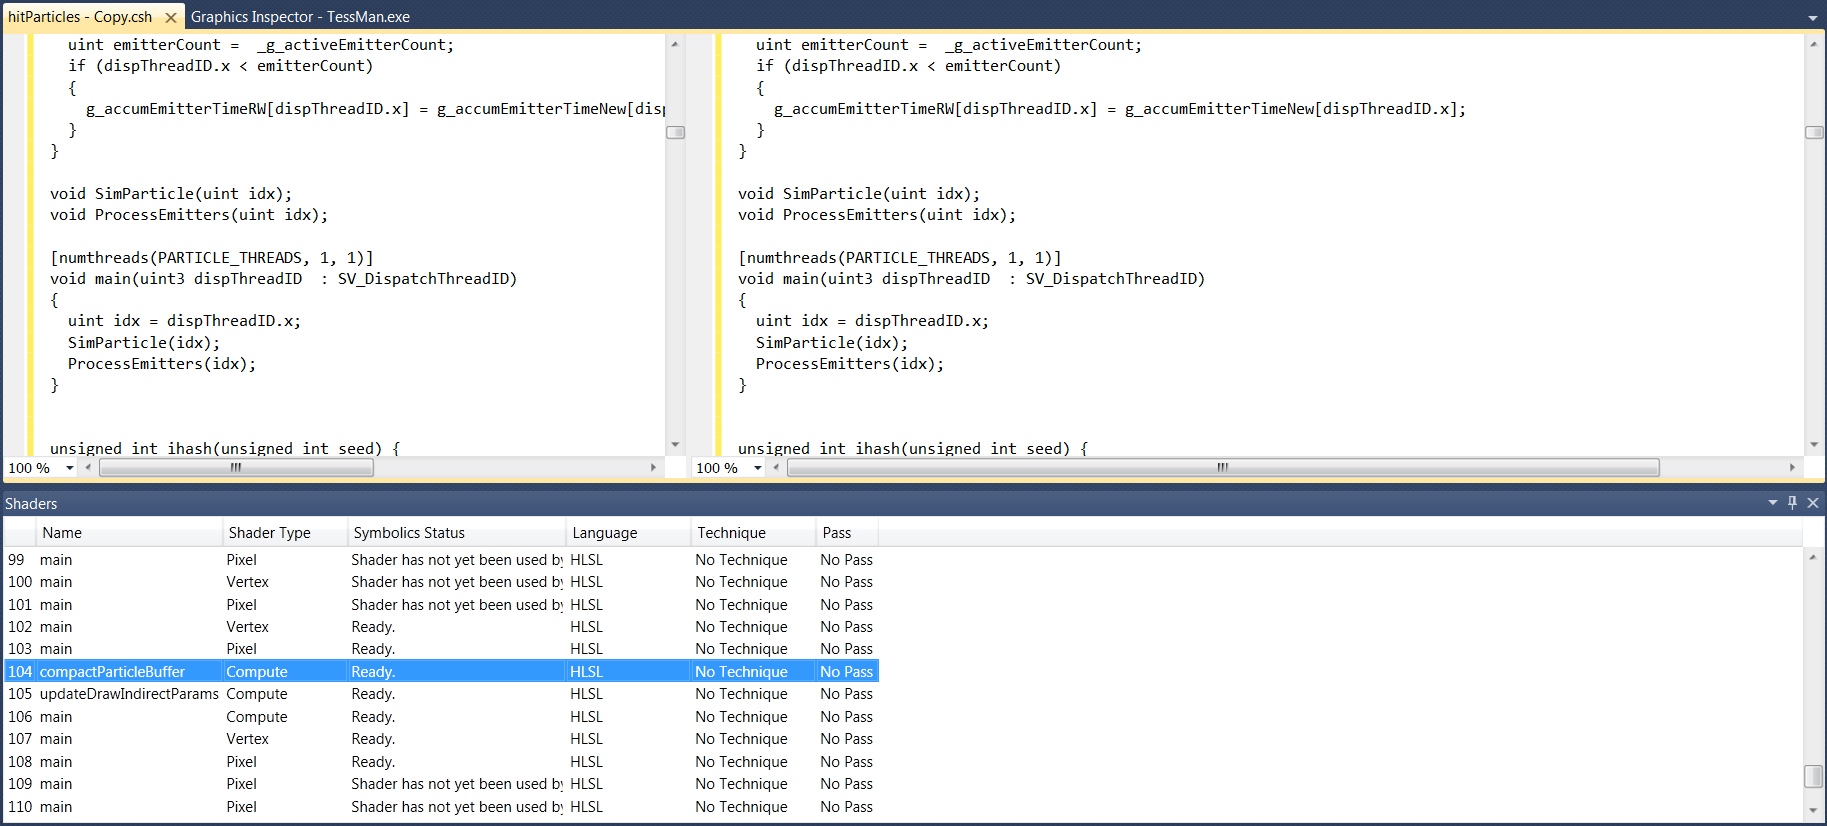
    The right window is the "After" shader that can be edited.


  5. After editing the code on the right side, right-click the code window and select Compile (or Ctrl + Shift + C).


  6. If any errors are found in the new code, they will be displayed in the Output window.
  7. The modified shader is now in the application. All instances of that shader will be replaced with the edited shader.
  8. If you find that your edited code has made an improvement to the application, you can promote the shader by right-clicking on the edited code and selecting Promote (or 
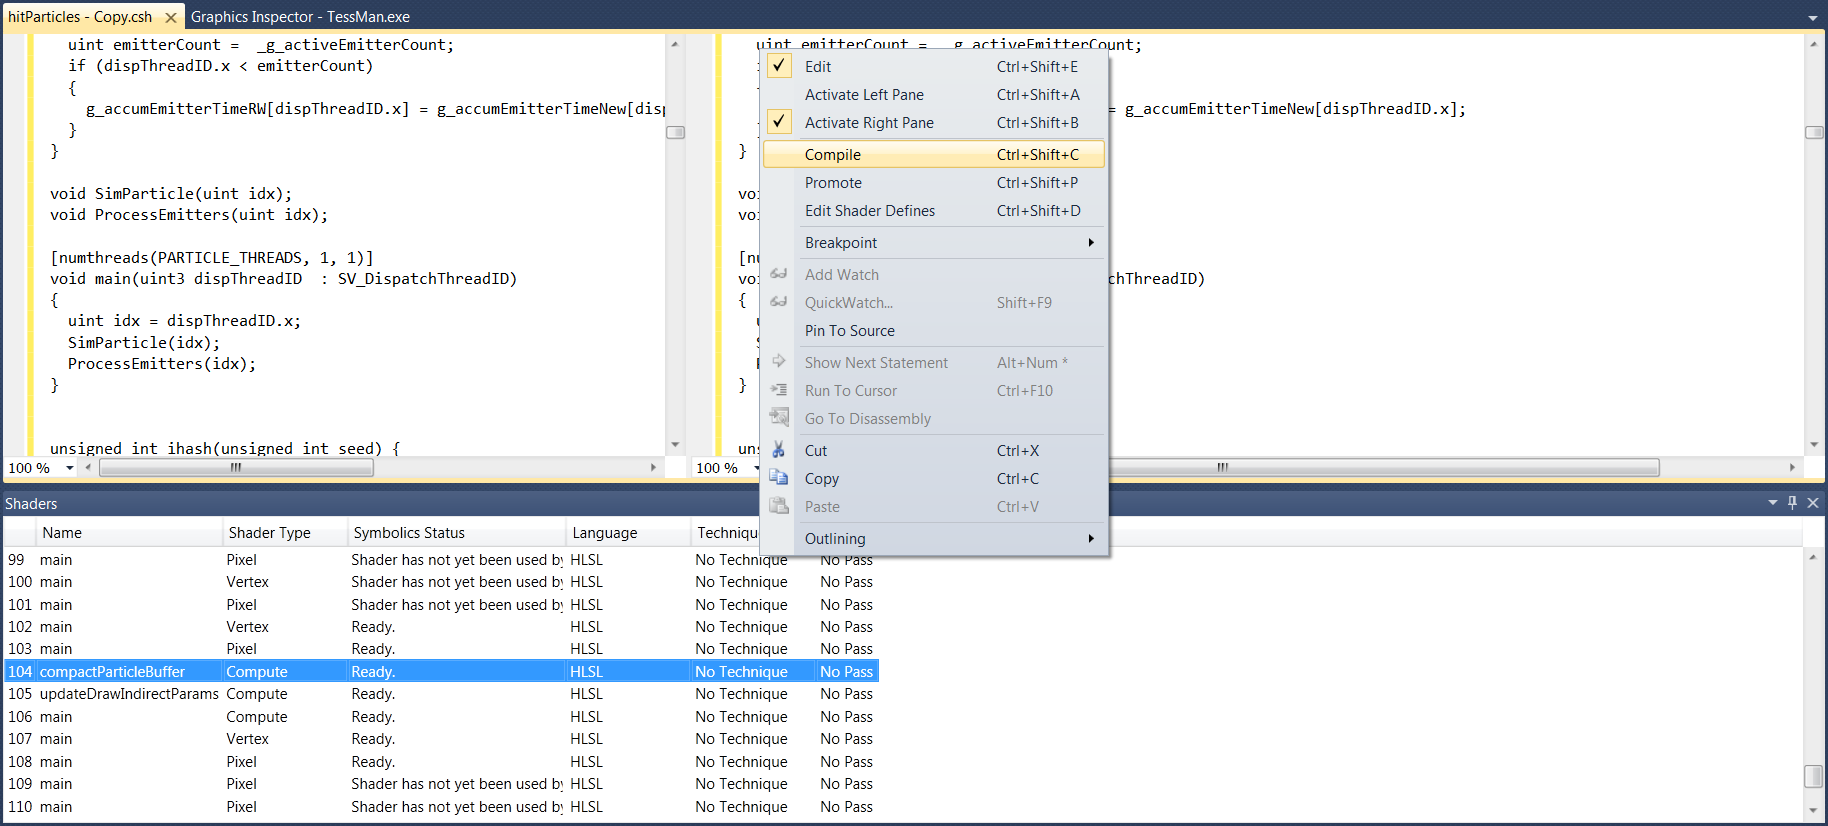
Ctrl + Shift + P). 
    This will replace the read-only code on the left with your edited shader code. You can then keep editing the shader on the right; no reload is necessary.


NVIDIA® Nsight™ Development Platform, Visual Studio Edition User Guide Rev. 2.2.120522 ©2009-2012. NVIDIA Corporation. All Rights Reserved.