On a computer that has two GPUs, you can designate one GPU as the "headless GPU." In this case, the term "headless" refers to a configuration in which the additional GPU does not send display information to a display monitor.
The reason that you may choose to use headless GPU debugging is because the Windows operating system normally requires a desktop to be assigned to every usable GPU. This can cause problems when trying to debug a CUDA-based application locally. If a desktop is running on the same GPU that is running a CUDA-based application that is being debugged, the CUDA Debugger can have problems communicating with the application that is being debugged. The CUDA Debugger disables breakpoints automatically when attempting to debug locally on a GPU that has displays attached.
On Windows Vista and Windows 7, it's recommended that users run their CUDA applications on a headless GPU.
The following procedure allows you to work around the desktop requirement.
To run headless:
- Make sure you have at least one CUDA-capable NVIDIA GPU installed.
- Make sure that the NVIDIA display driver installed on your system matches the display driver recommended in release notes. If you install a new display driver, reboot the Windows operating system.
- If you have a physical monitor cable attached to each GPU, turn off the display for one of the GPUs from the NVIDIA Control Panel.
- Right-click on your desktop, and select NVIDIA Control Panel.
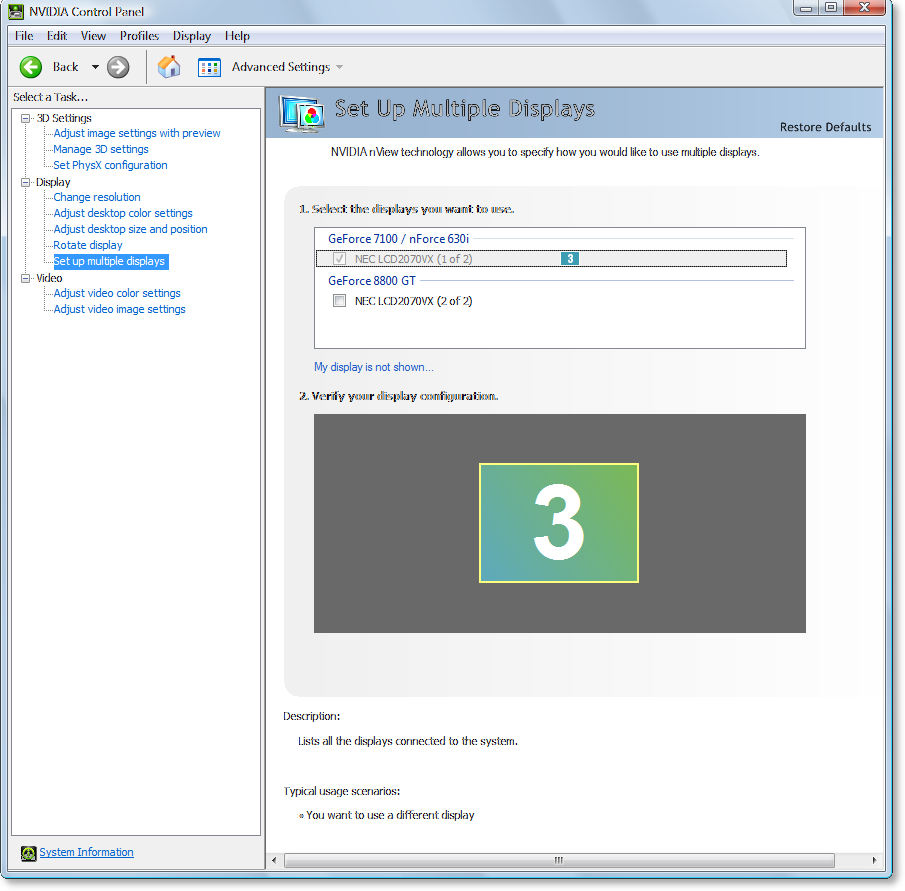
- In the left-hand pane, under Displays, select Setup Multiple Displays.
- Unmark the checkbox of the display that is to be used as the target (the headless GPU).
- Click the Apply button.
- Close the NVIDIA Control Panel.
- Make sure that your CUDA source code specifies the non-desktop device as the device that will execute the CUDA portion of your code.
If you aren't sure which device is the headless GPU, use the DeviceQueryDrv sample from the CUDA SDK Toolkit, then set the CUDA_VISIBLE_DEVICES environment variable.

|
For a local debugging configuration, make sure that you first disable D3D acceleration for WPF. For assistance, see Setup Local Debugging.
|
| NVIDIA® Nsight™ Development Platform, Visual Studio Edition User Guide Rev. 2.2.120522 ©2009-2012. NVIDIA Corporation. All Rights Reserved.
|
|
| |
|